Follow these steps to get your workspace ready and send your first campaign.
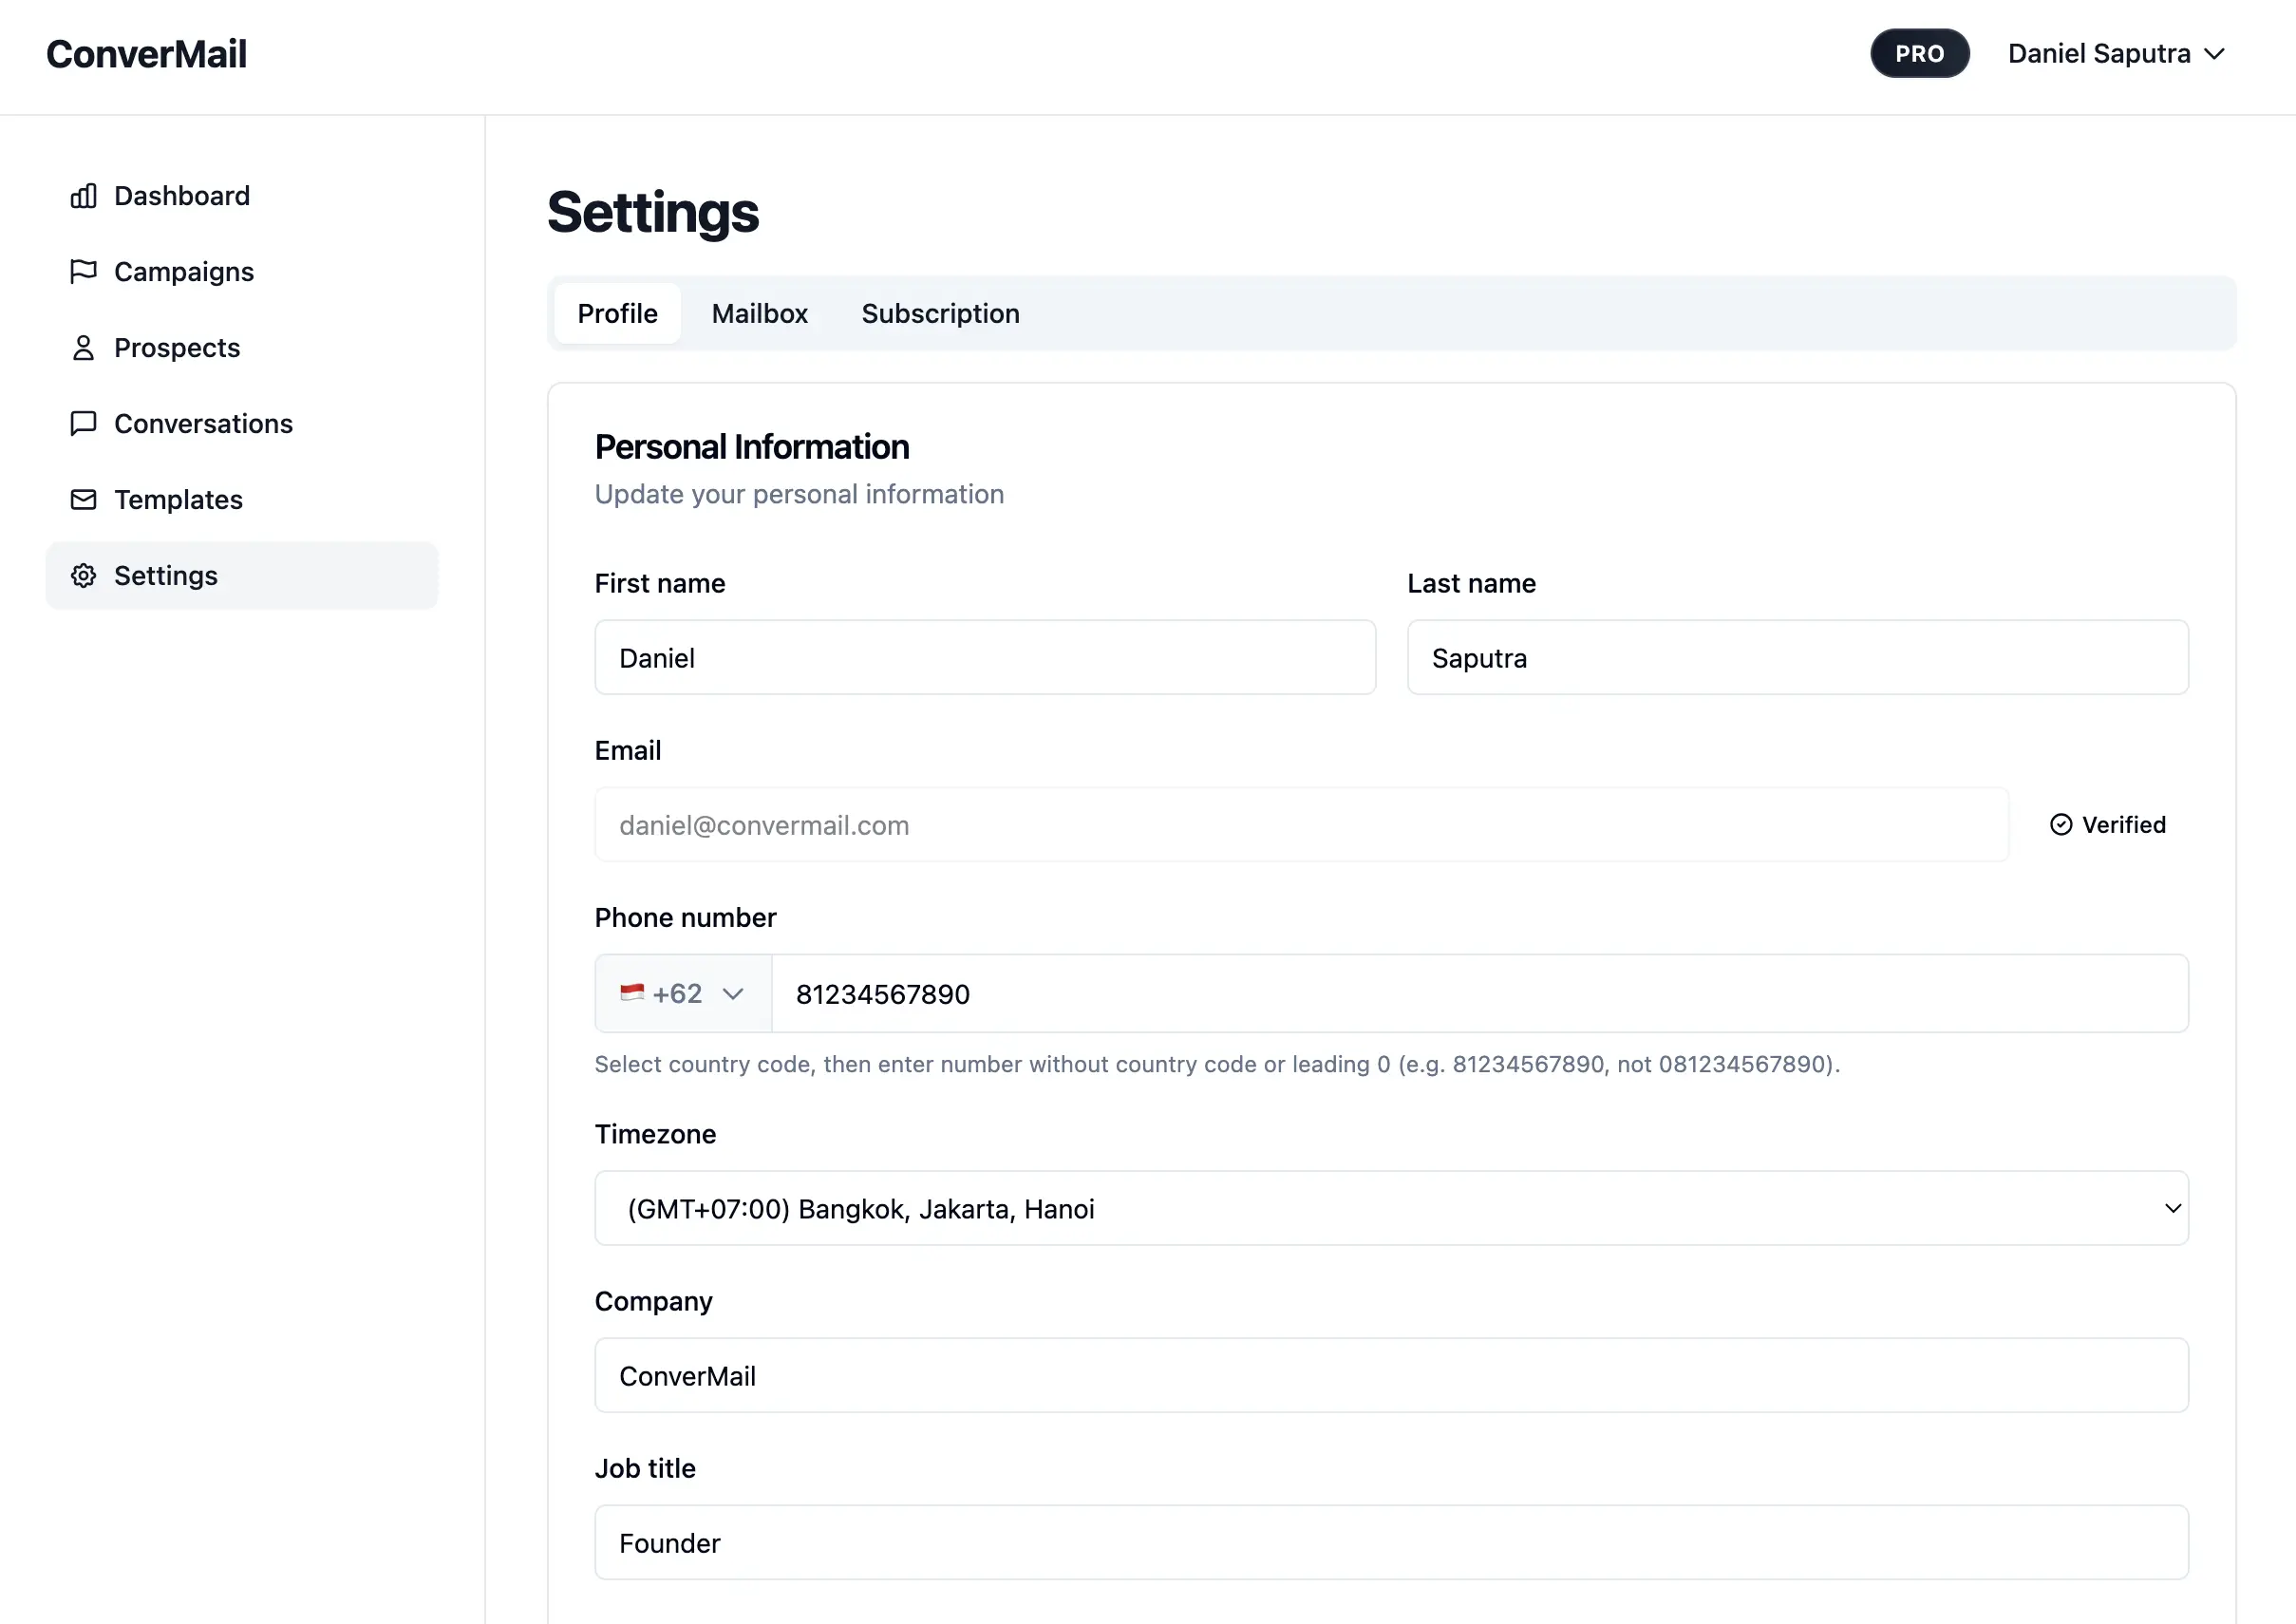
1. Verify profile details
Go to Settings → Profile to confirm your name, company, and timezone.
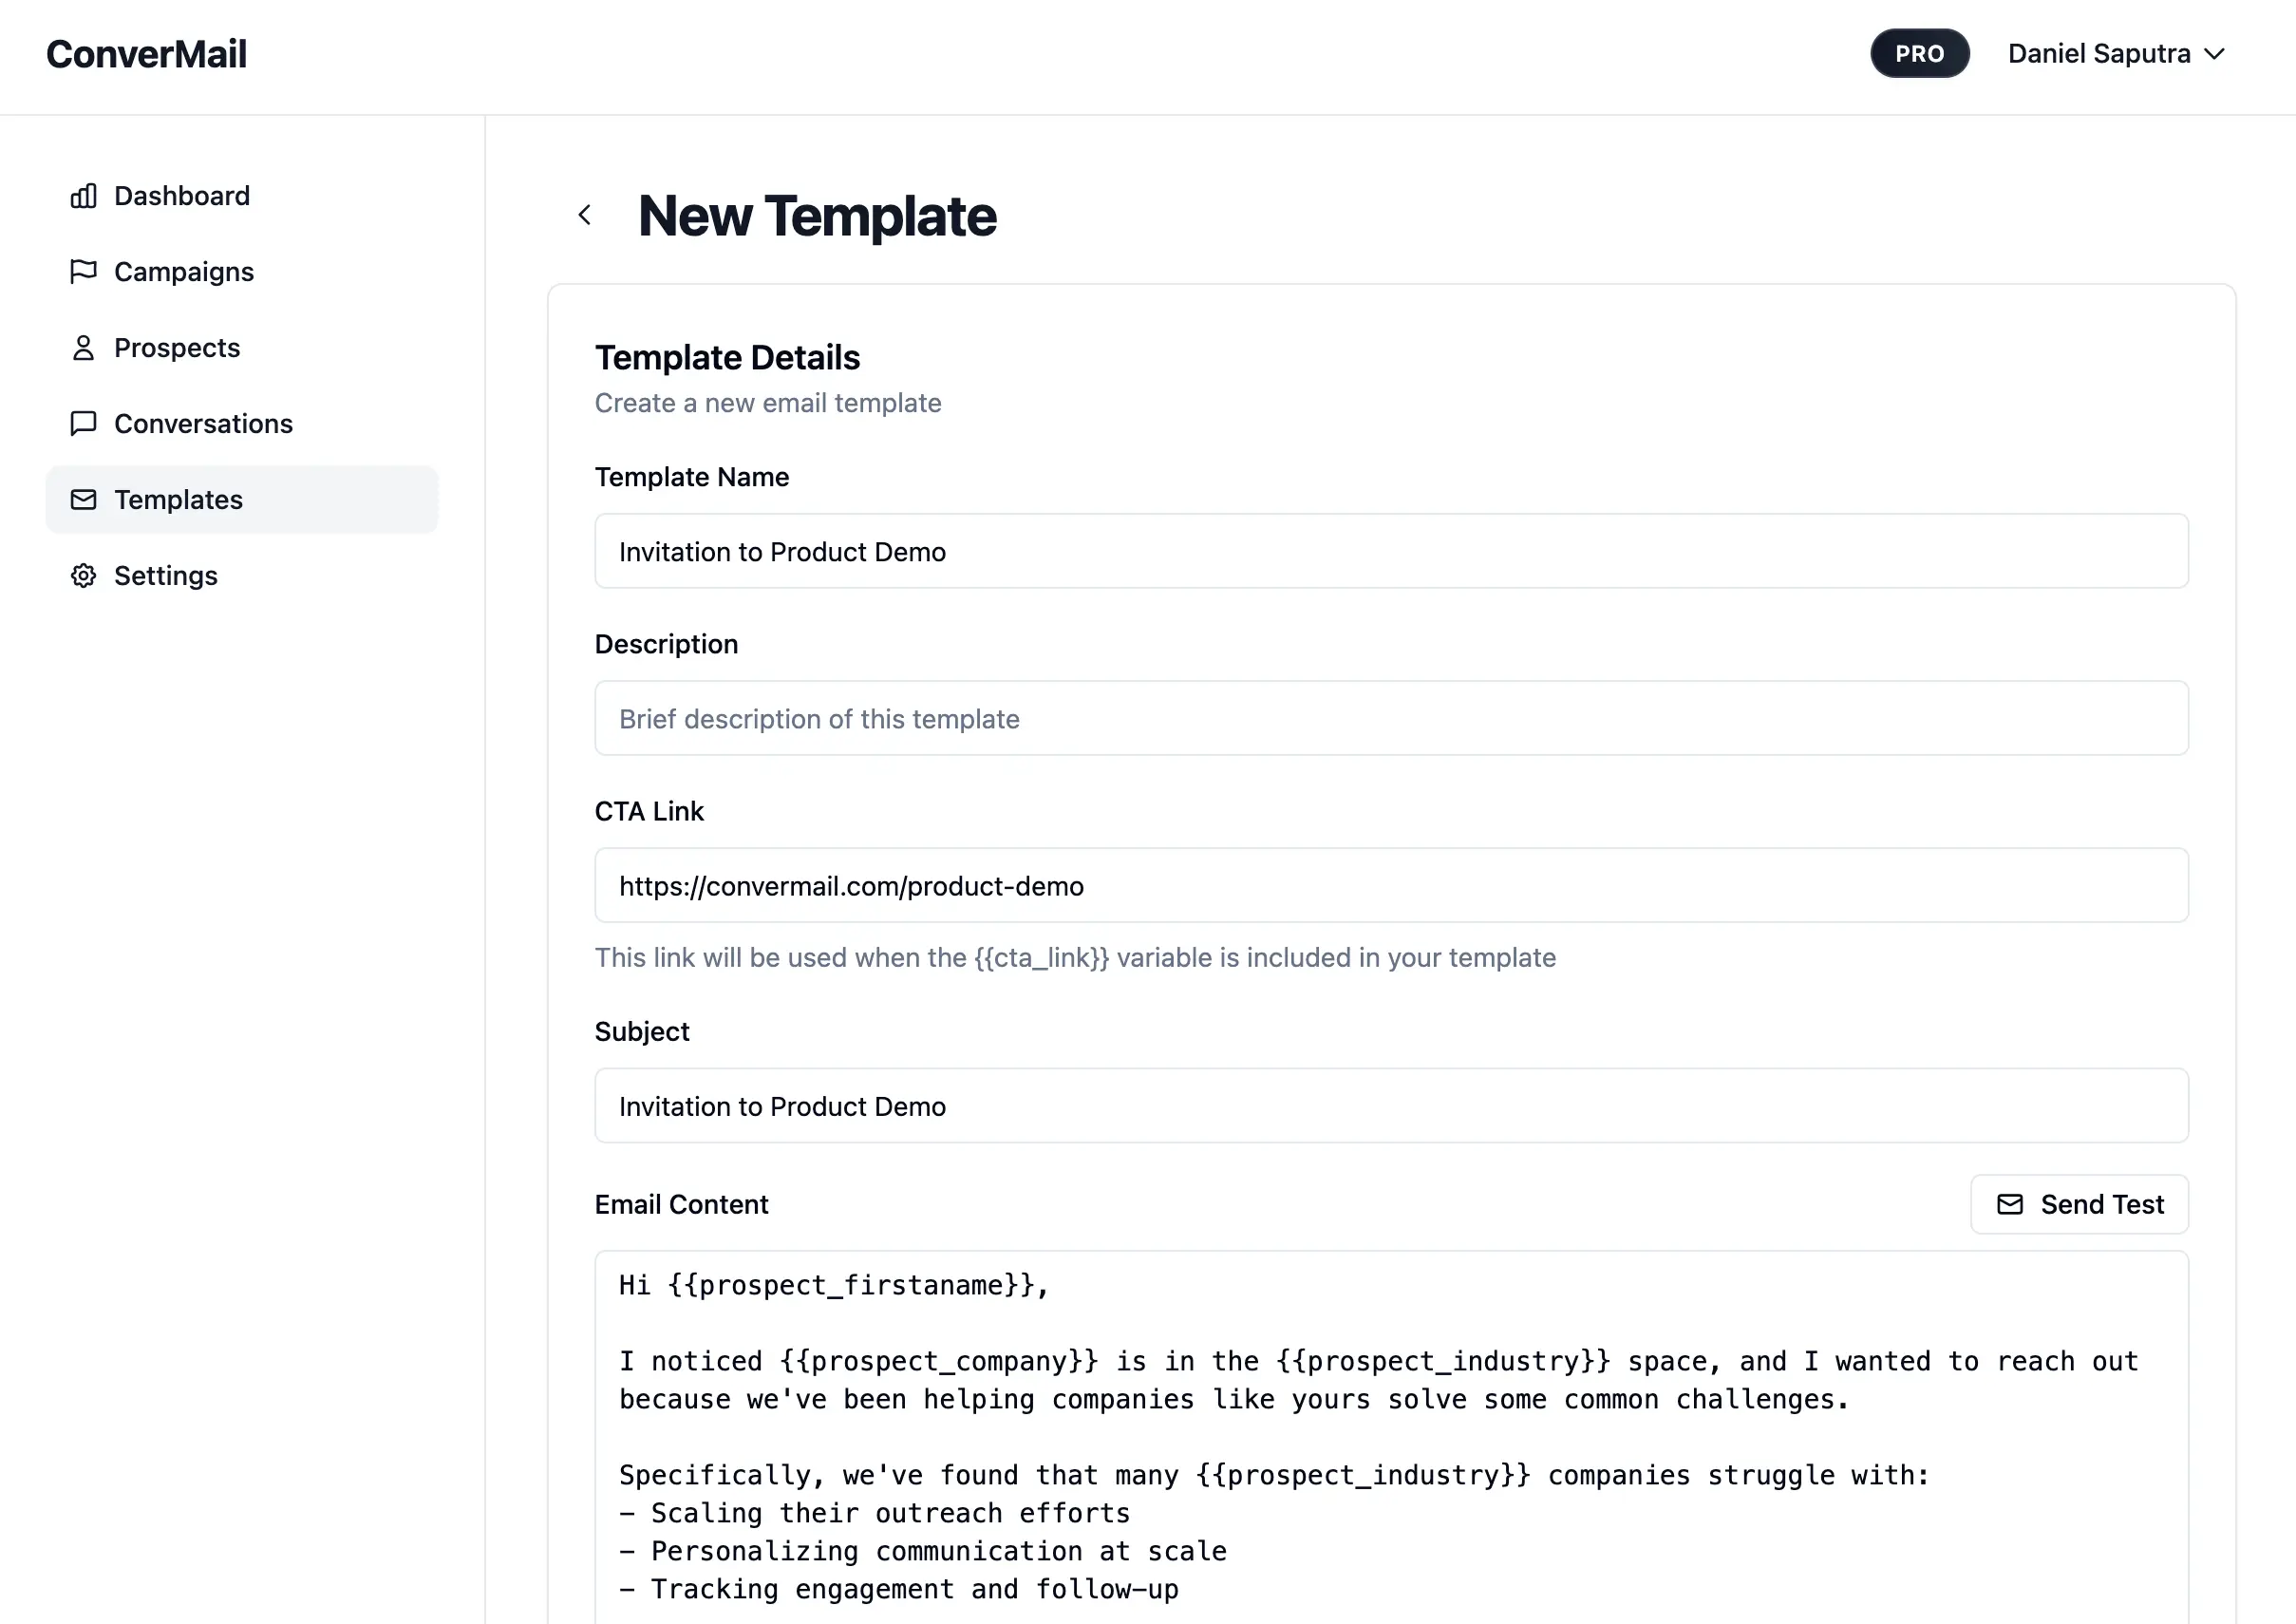
2. Create your first template
Write a clear message and add variables to personalize at scale.
Use variables like {{prospect_firstname}}, {{sender_name}}, and {{cta_link}}; preview and test-send.
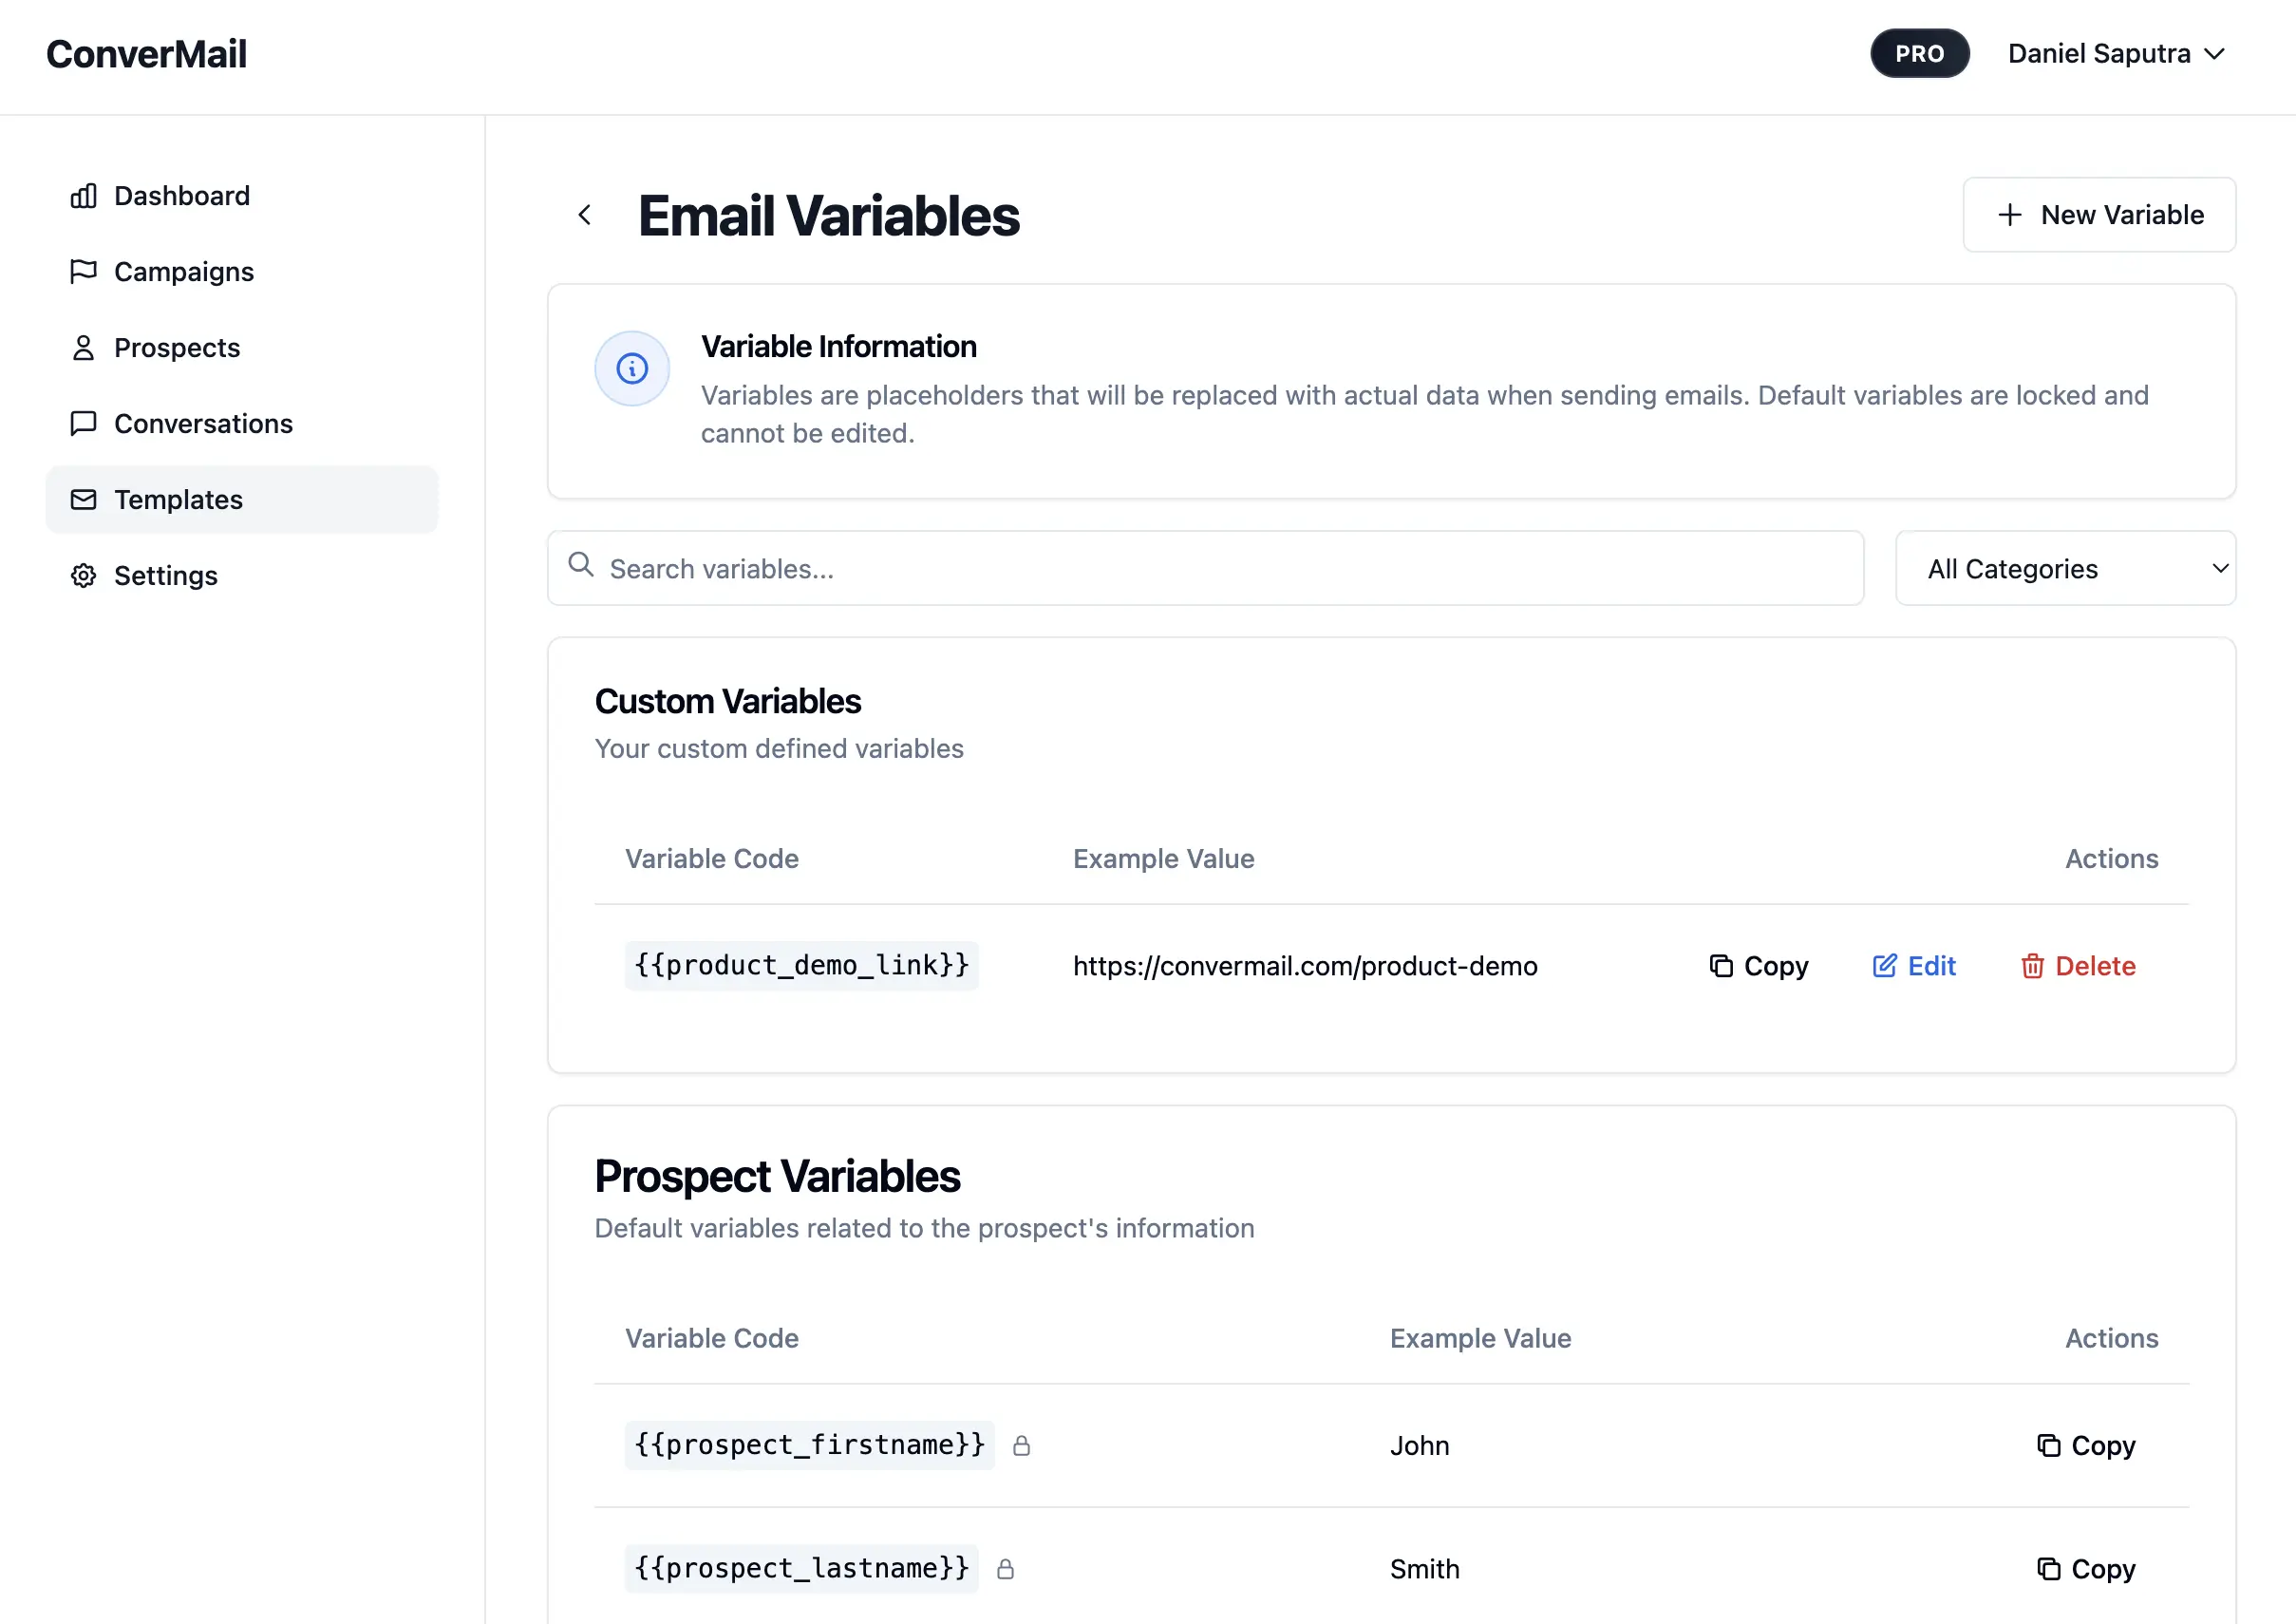
3. Create email variables
Go to Email Variables page to set up custom fields you want to use in your emails, such as job title, product interest, or a custom call-to-action link.
Creating variables lets you personalize each message for every prospect. You can reference these variables in your templates using double curly braces, for example: {{prospect_job_title}} or {{custom_note}}.
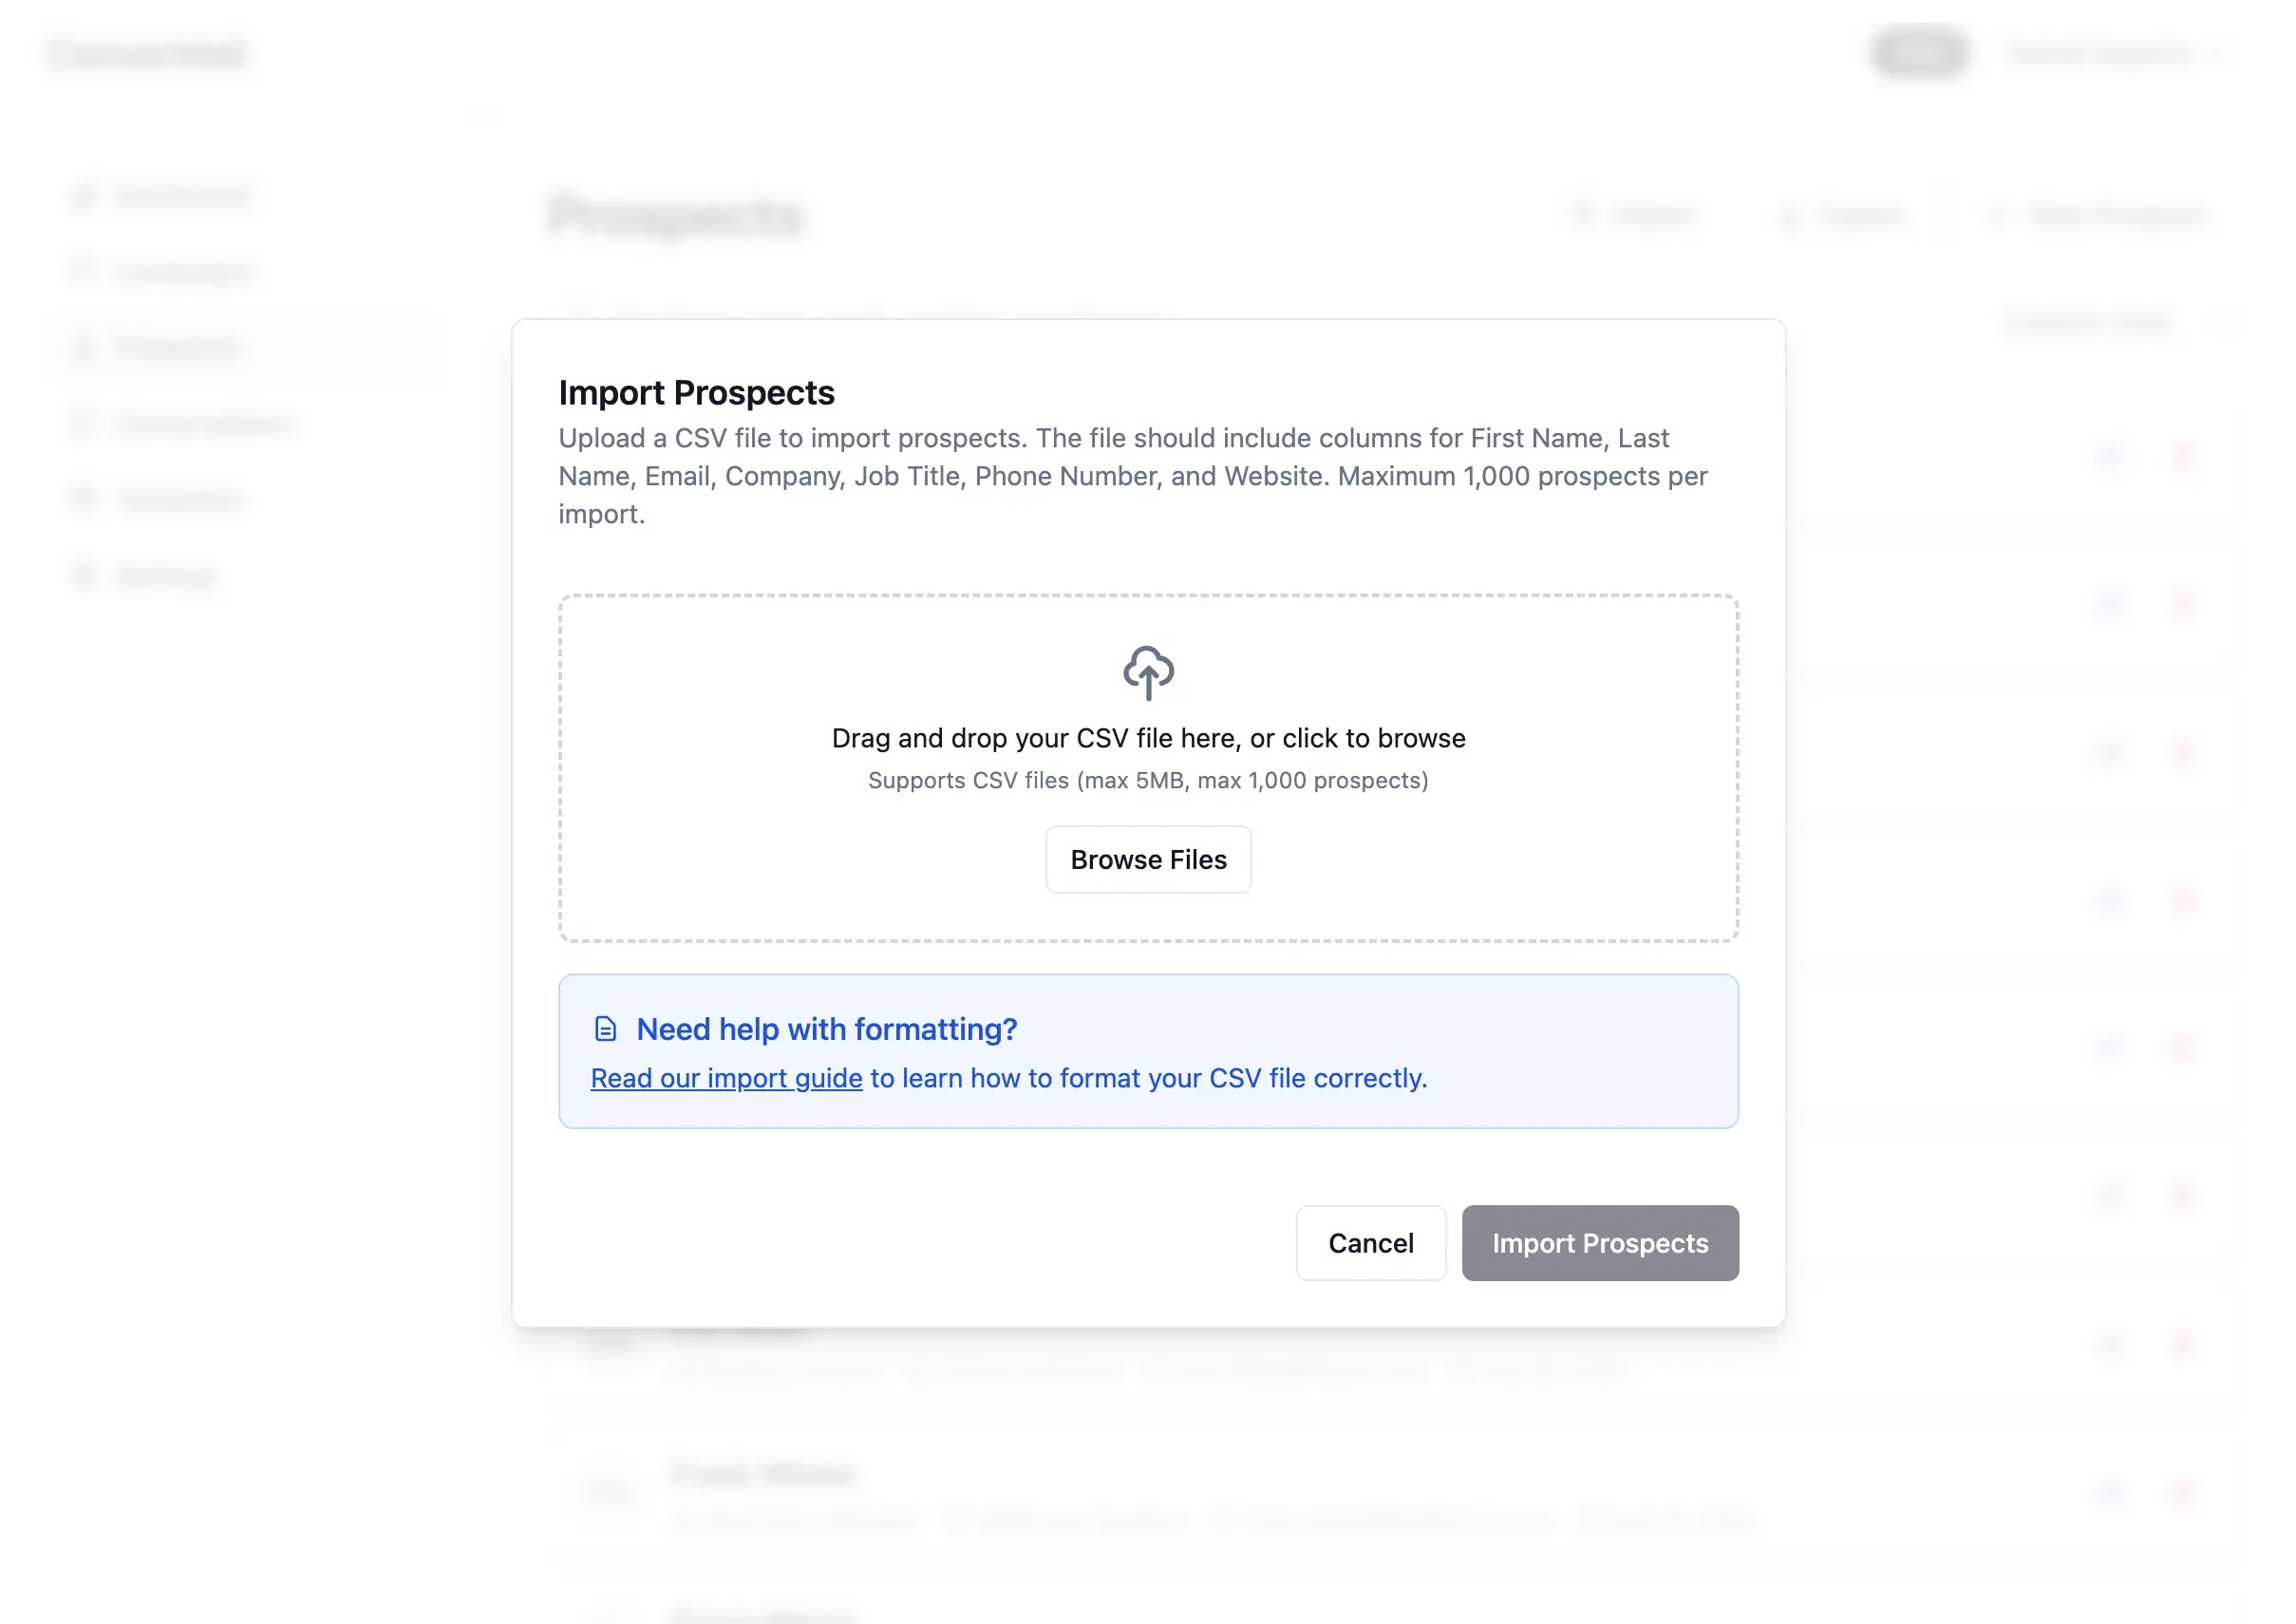
4. Import or add prospects
Import a CSV with headers for name, email, company, and other fields, or add contacts manually.
After import, open a prospect profile to verify mapped fields and recent activity.
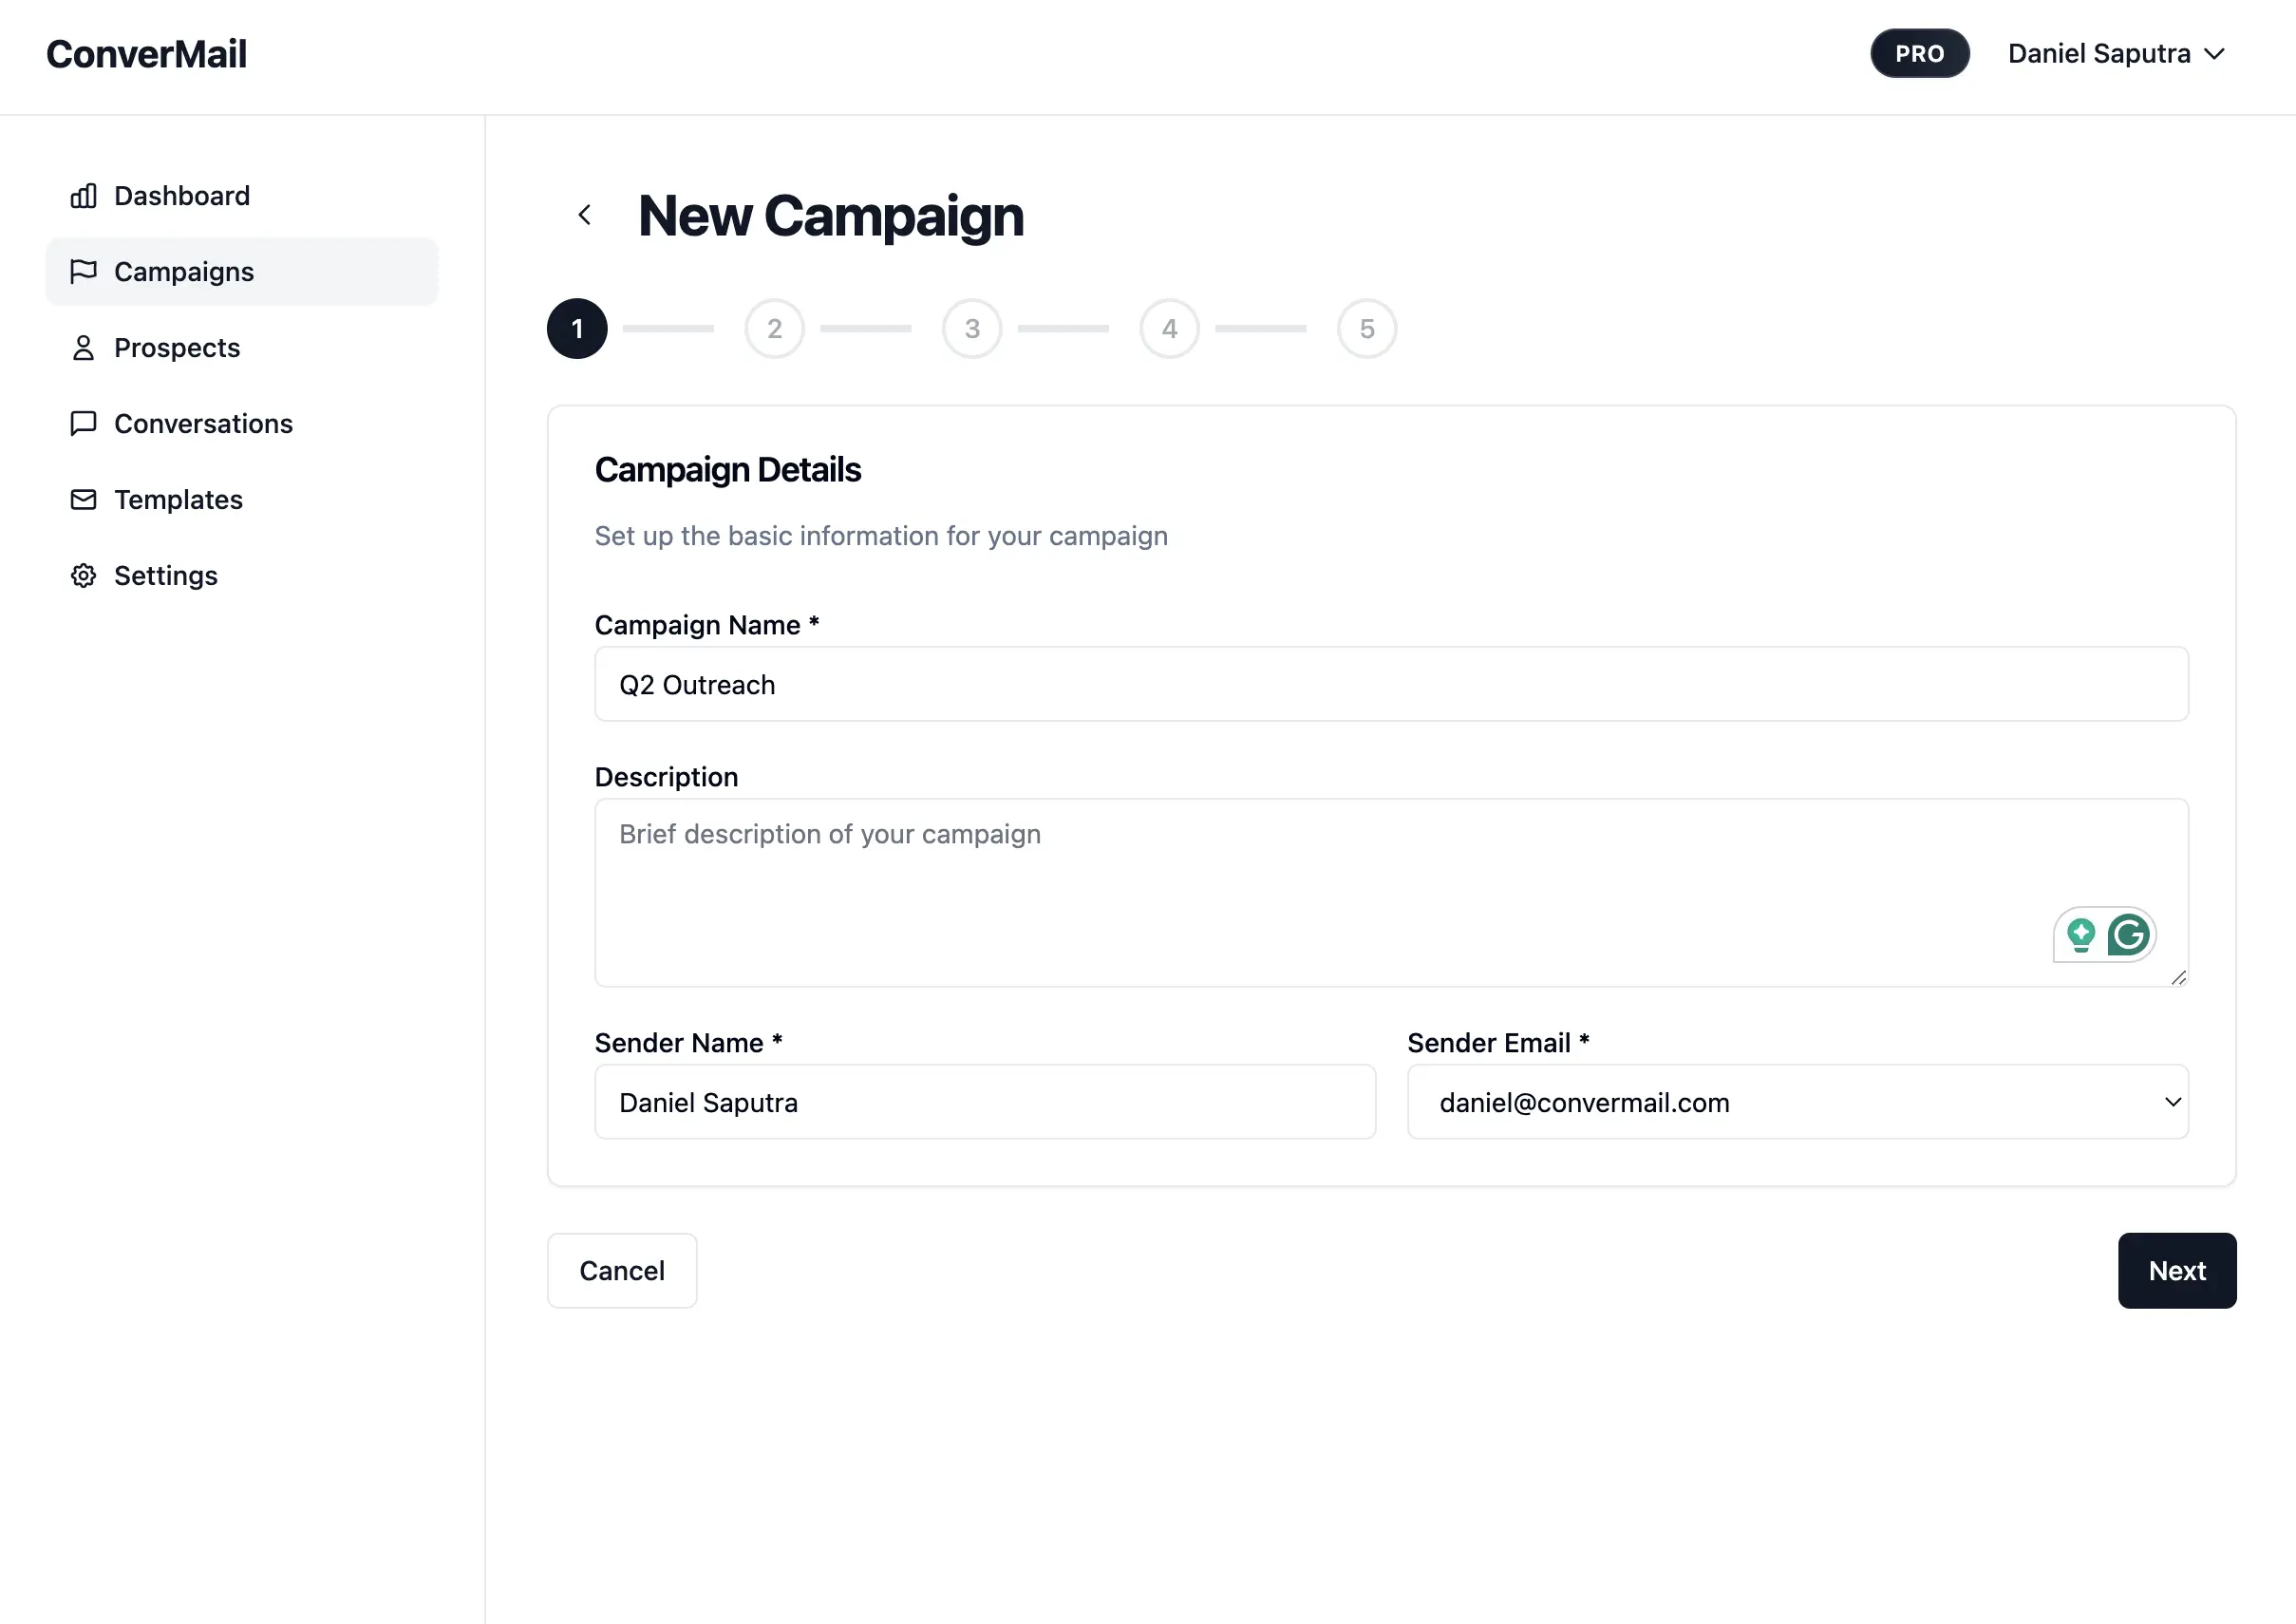
5. Launch a test campaign
Start with a small audience to validate deliverability and messaging. Select your template, choose recipients, and schedule sending in your timezone.
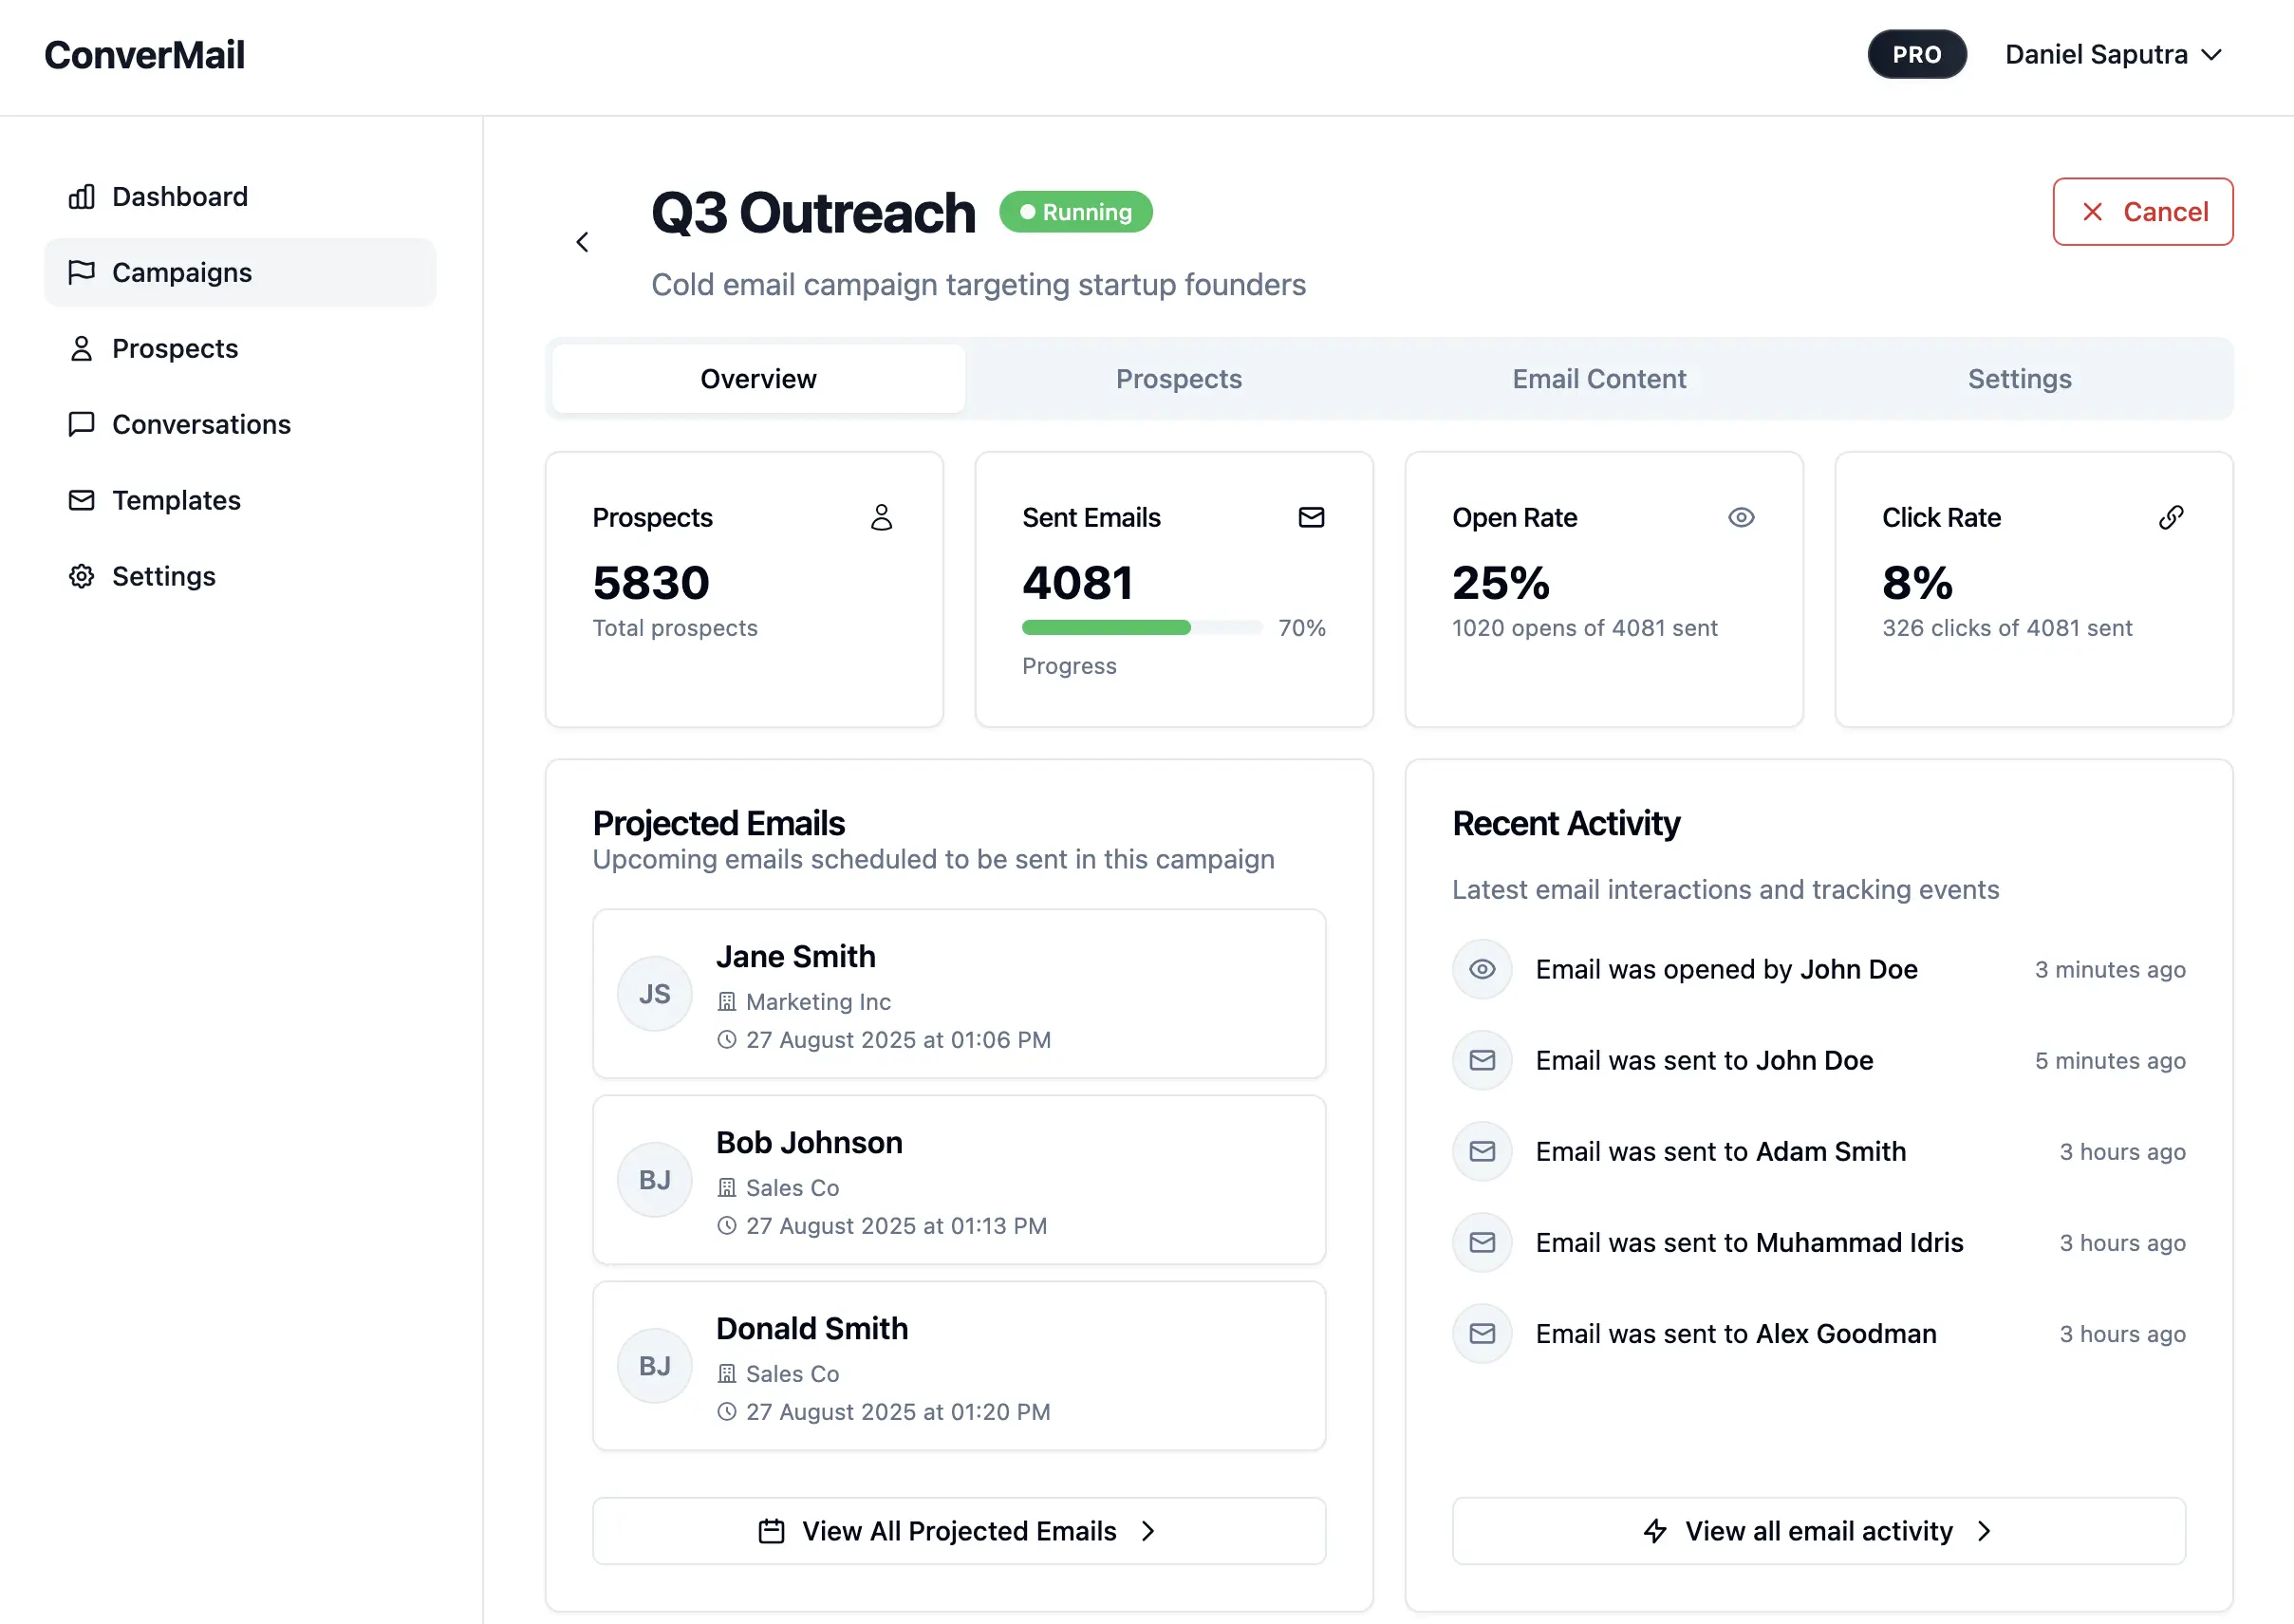
6. Review results and conversations
Track sent, open, click, and reply metrics; handle replies in Conversations. Use performance data to iterate; open Conversations to reply and keep context.
Once these steps are complete, you’re ready to scale sending with confidence.