This guide walks you through the complete account setup process. You'll provide your information, connect your Gmail account, and be ready to start sending emails in just a few minutes.
Step 1: Complete Your Personal Information
Start by filling out your profile details to personalize your ConverMail experience.
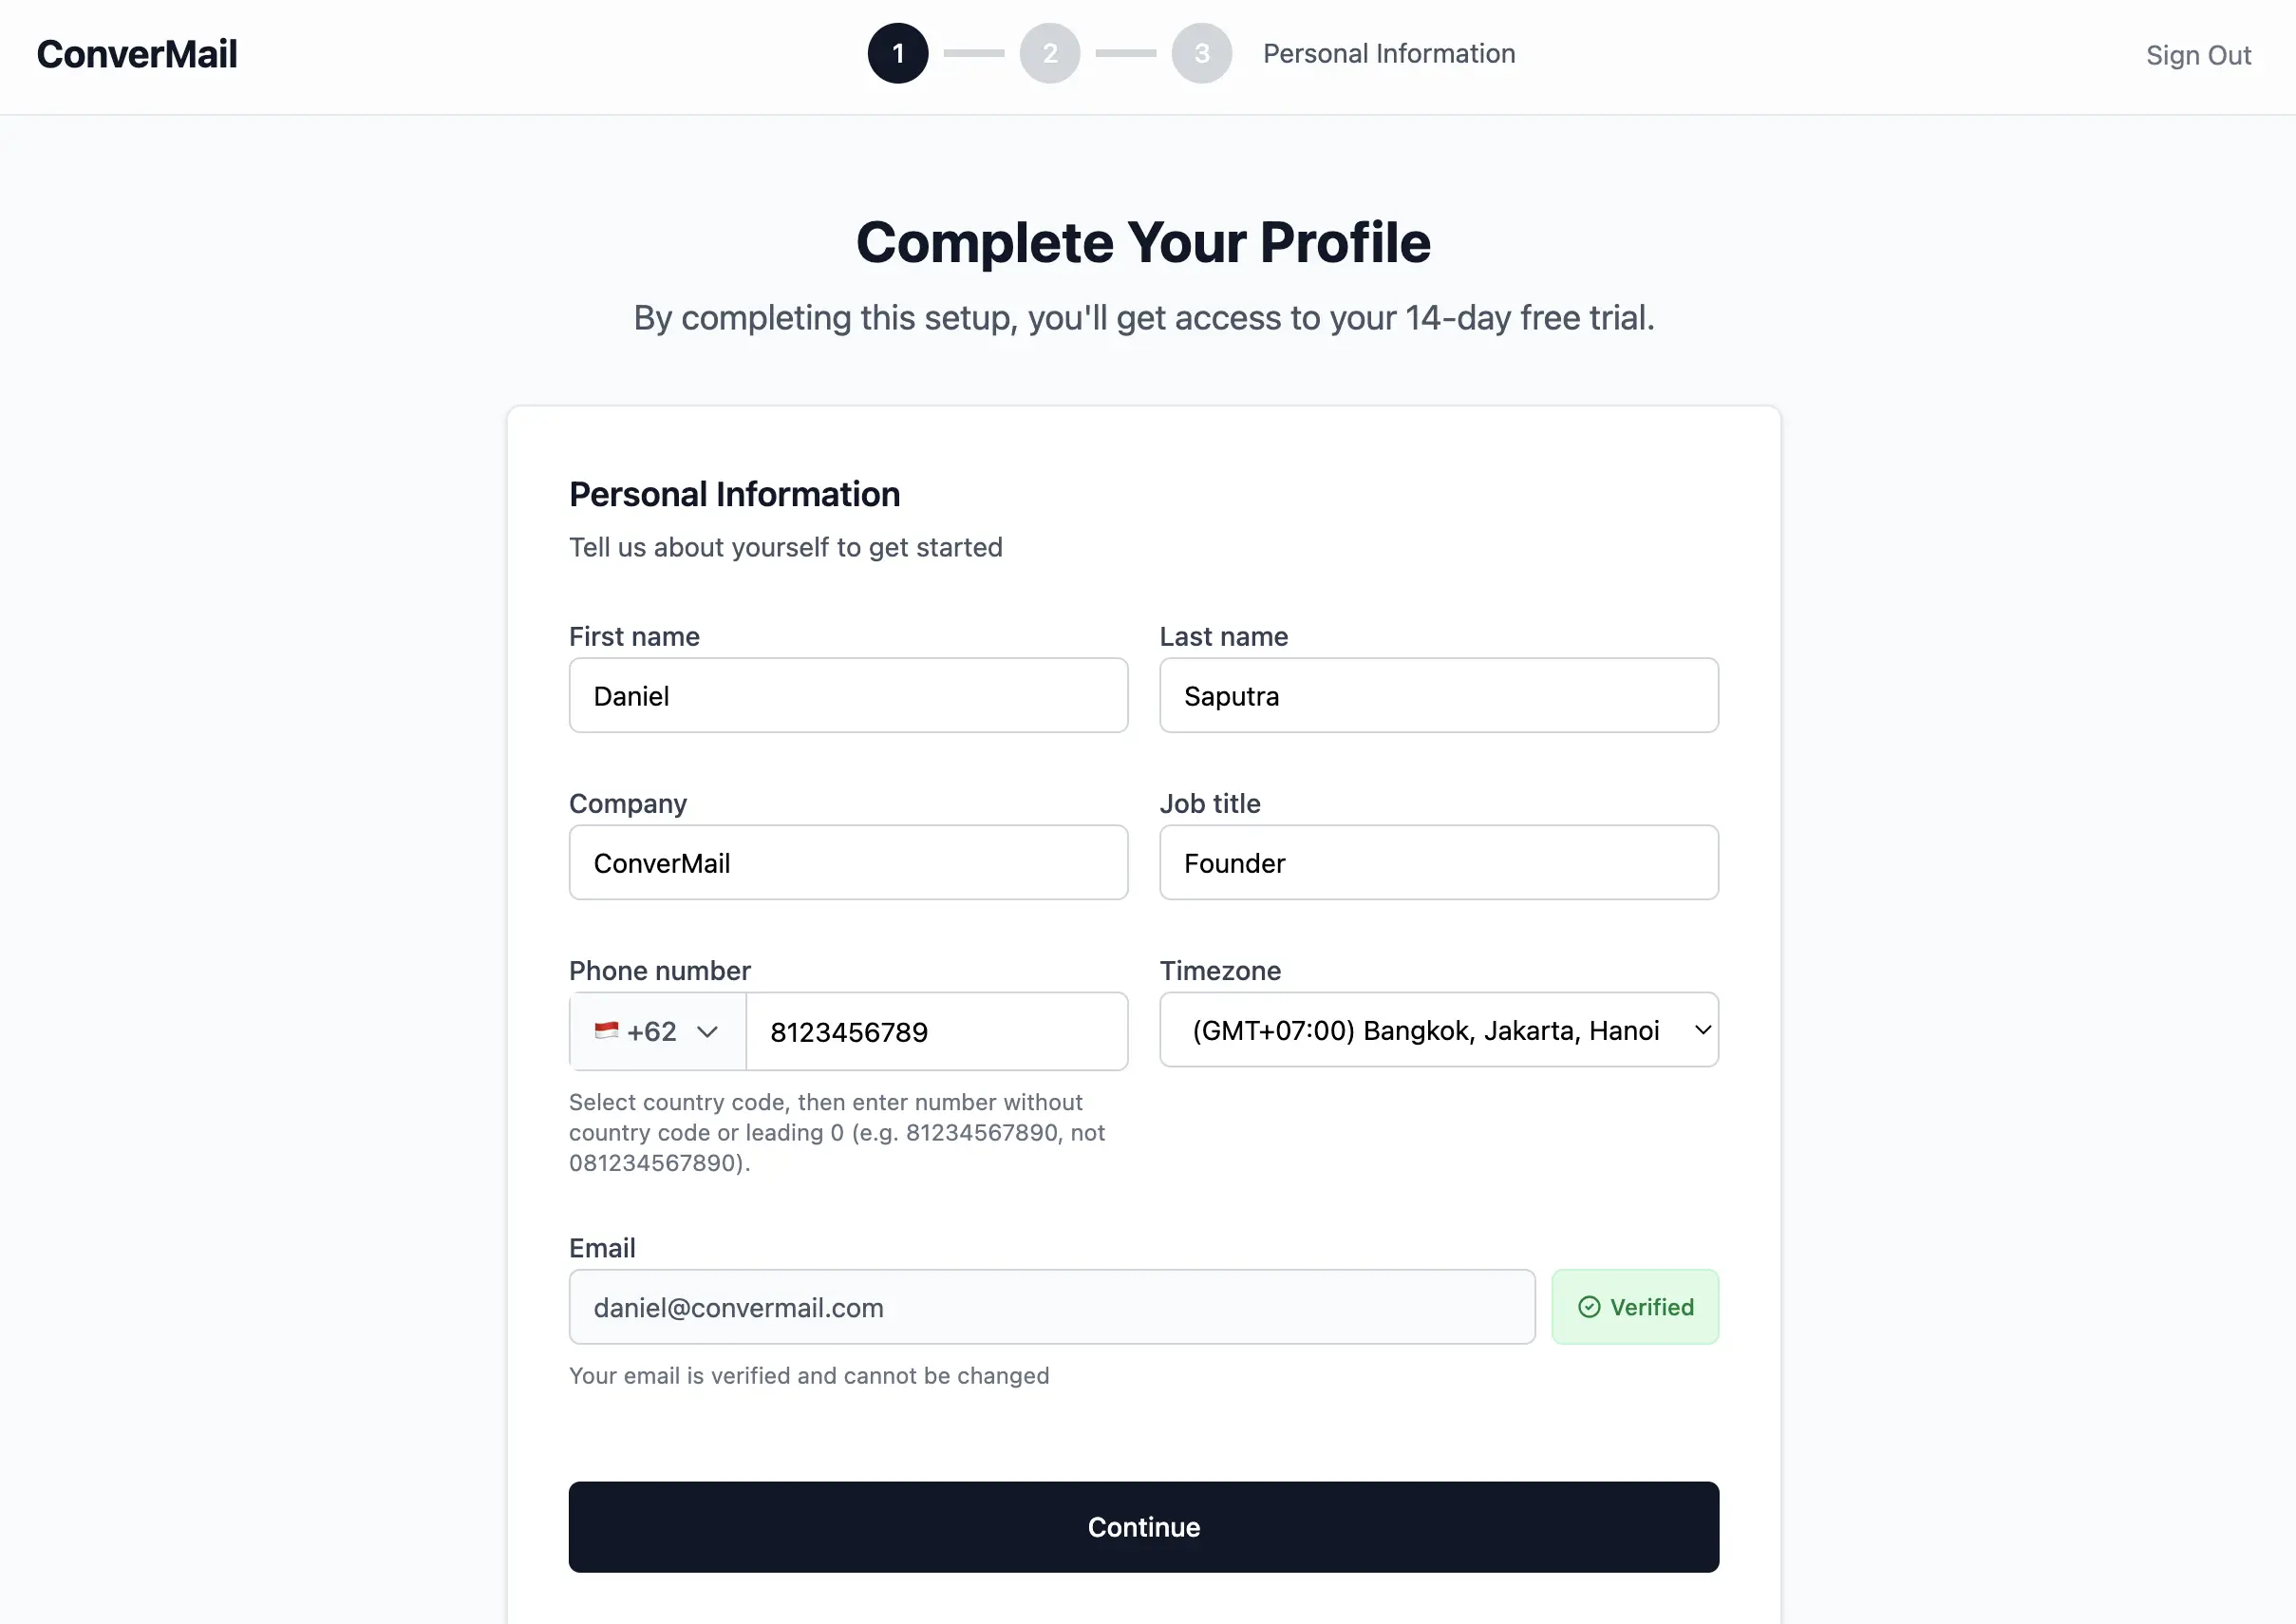
Enter your first name, last name, company name, and job title. These details help us customize your experience and are used in email templates.
Add your phone number with the correct country code and select your timezone. The timezone setting ensures your scheduled emails are sent at the right local time for your prospects.
Your email address is already verified from Google authentication and cannot be changed. Click Continue to proceed to the next step.
Step 2: Connect Your Mailbox
Connect your Gmail account to enable email sending and receiving features.
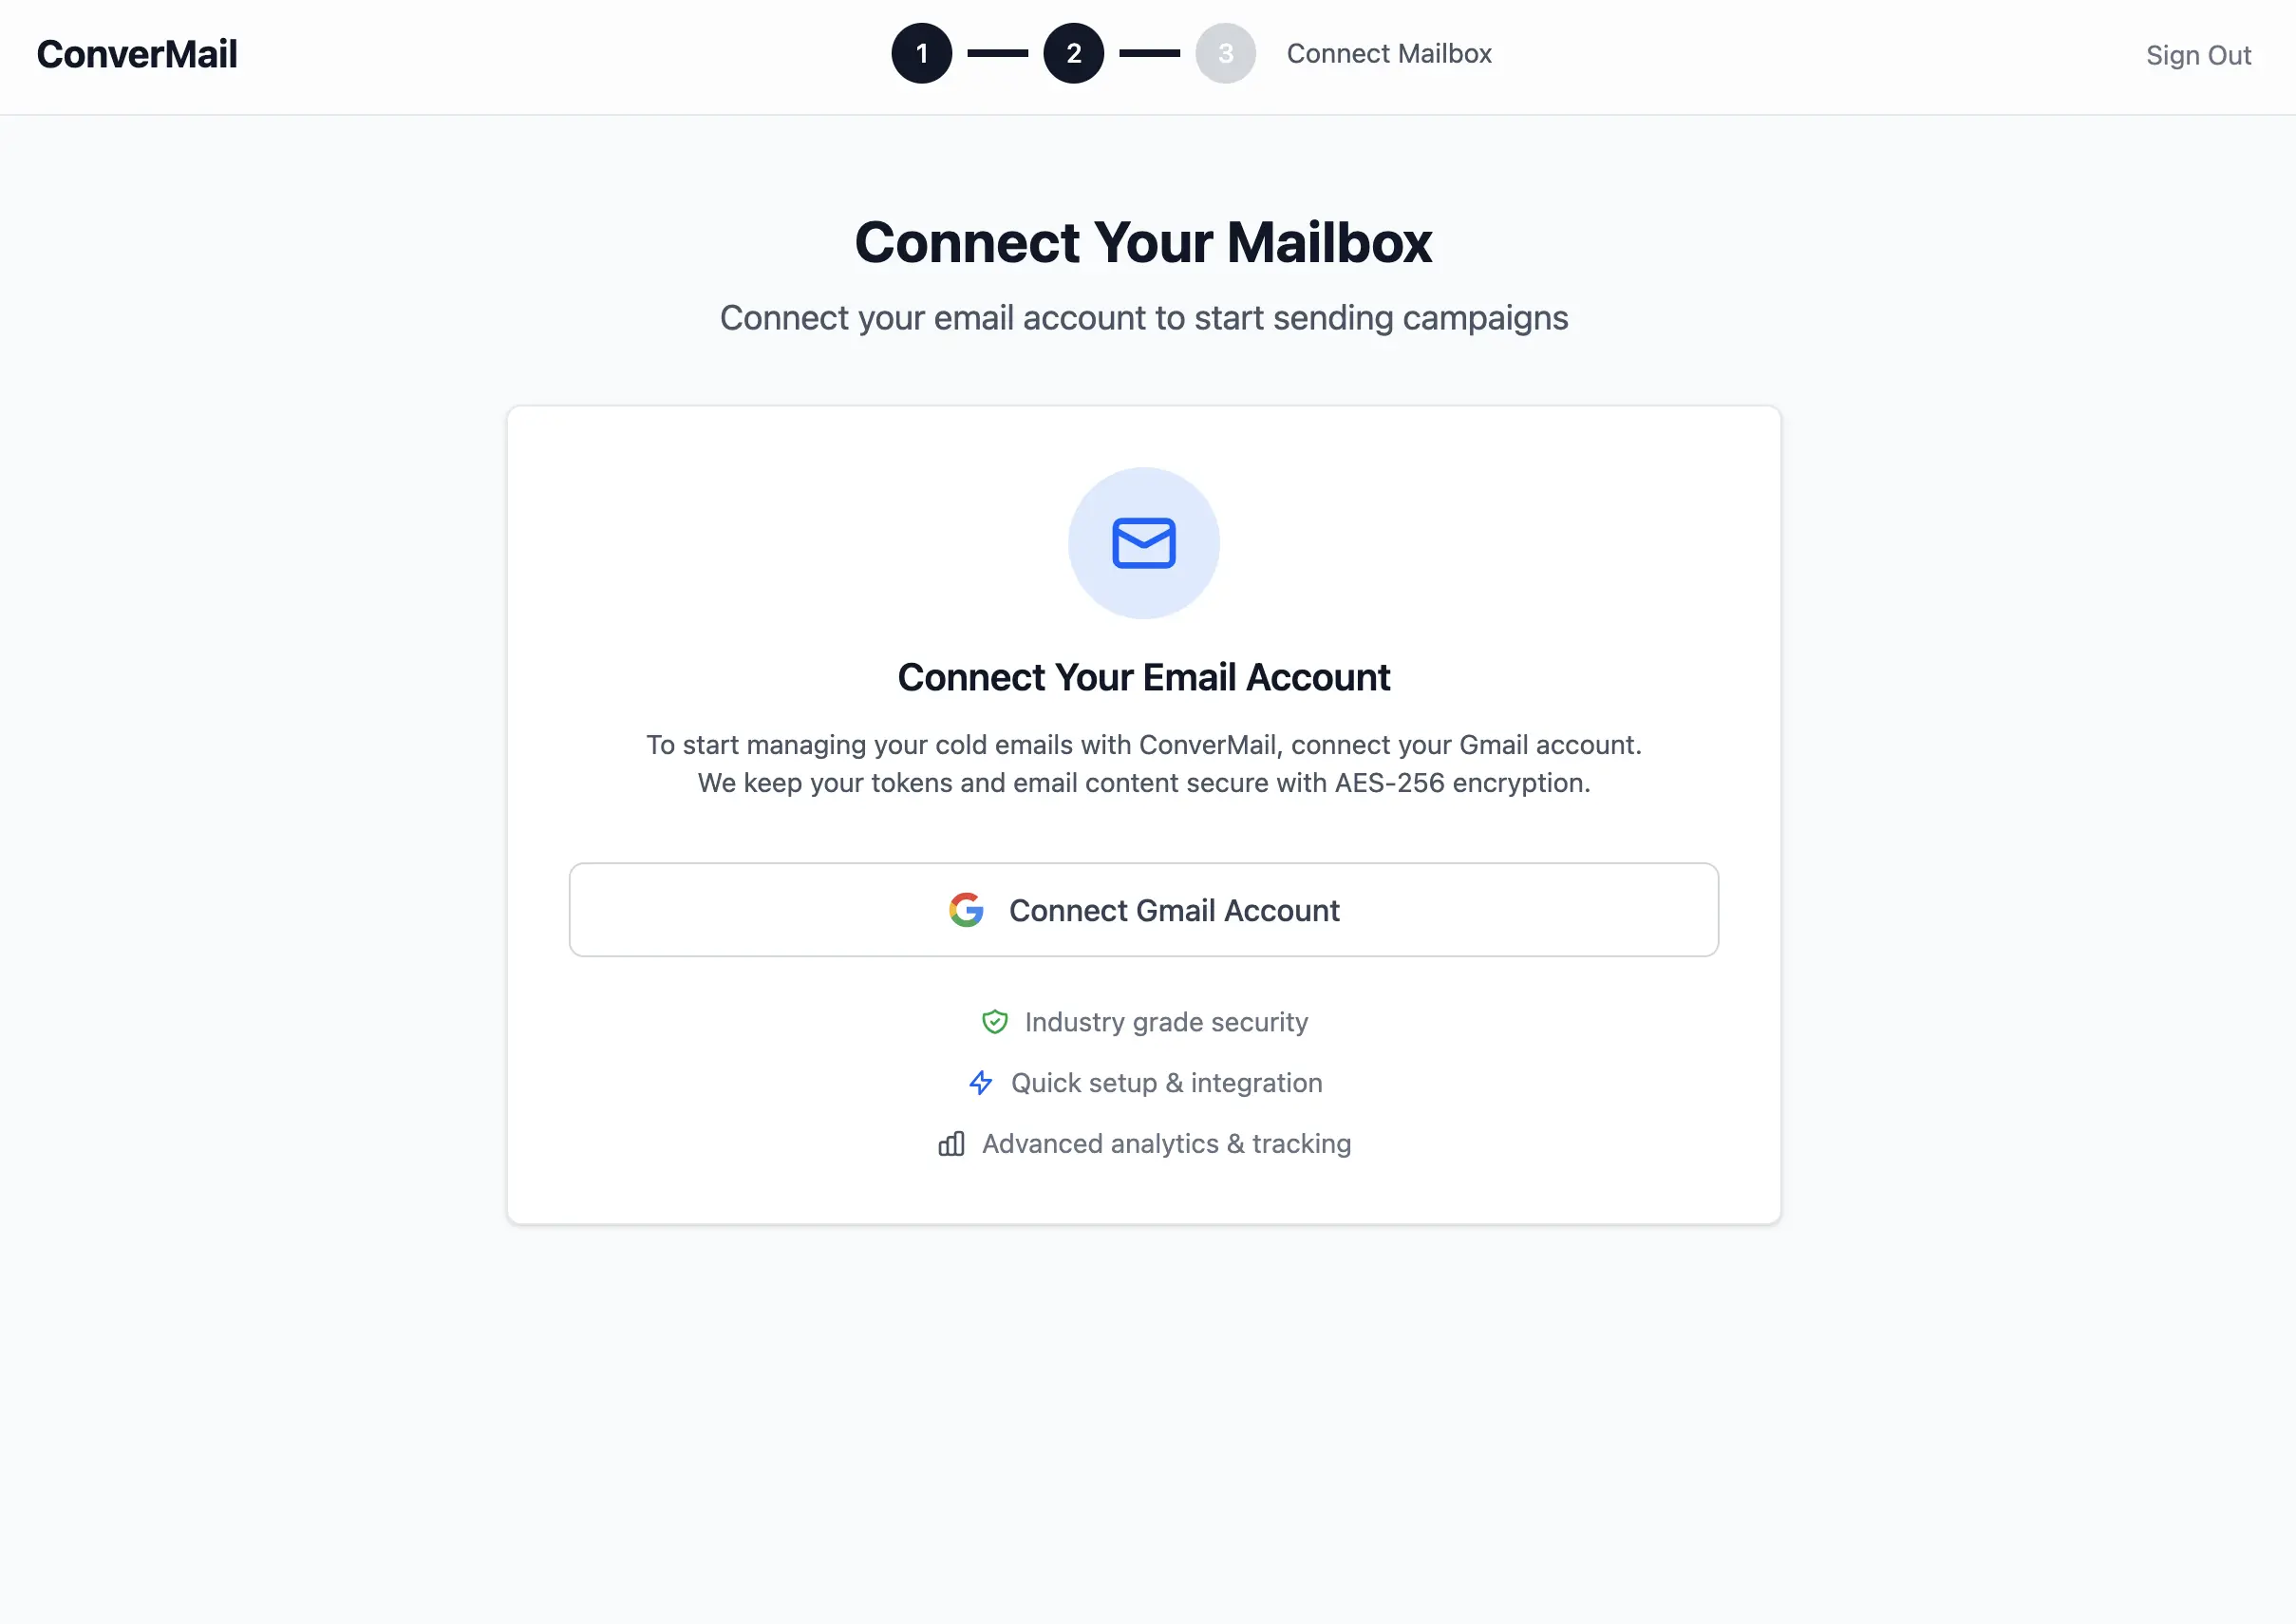
Click Connect Gmail Account to begin the secure connection process. We use industry-grade AES-256 encryption to protect your email tokens and content.
Step 3: Grant Gmail OAuth Access
You'll be redirected to Google's secure OAuth consent screen to authorize ConverMail's access to your Gmail account.
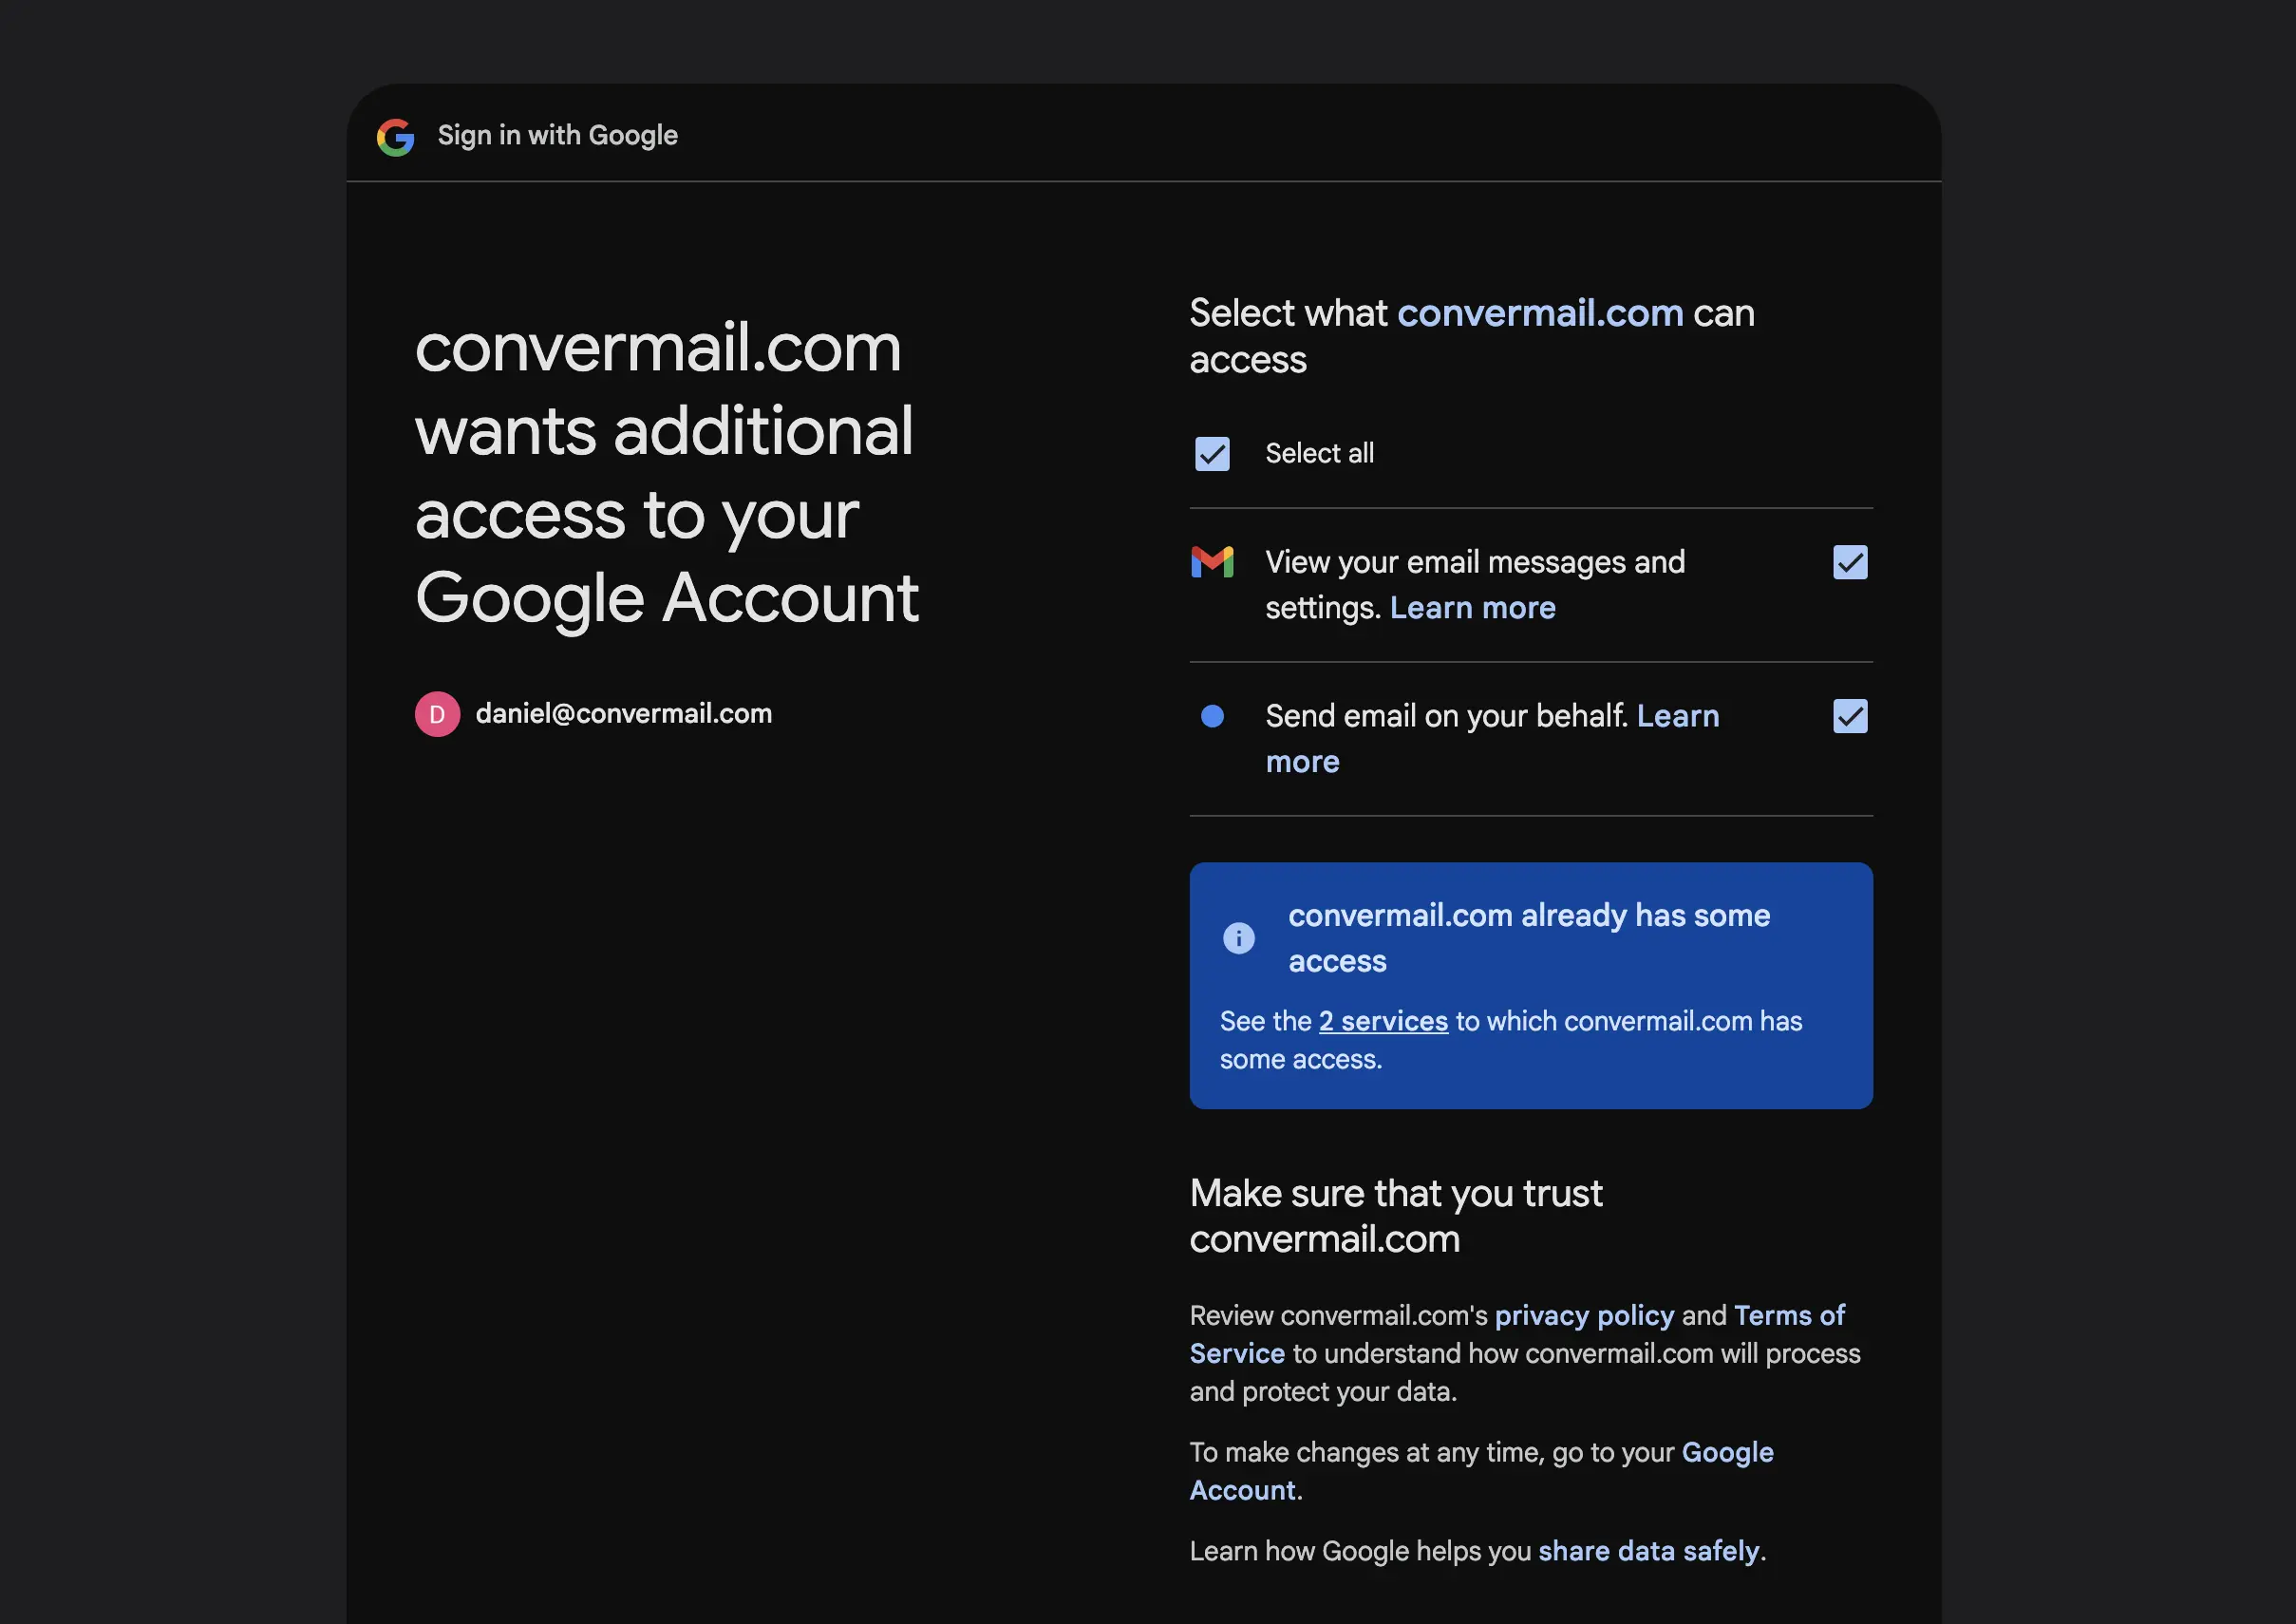
ConverMail needs access to your Gmail to read, send, and manage emails on your behalf for your convenience. This lets you easily read and reply to emails without switching apps.
After granting access, you'll be redirected back to ConverMail with your Gmail account successfully connected.
Step 4: Setup Complete
Congratulations! Your ConverMail account is now fully configured and ready to use.

You now have access to your 14-day free trial with:
- 700 email limit (max 50 emails per day)
- 500 prospect contacts in your database
Need help with any of these steps? Check out our other getting started guides or contact support.